Most of the workflow of npm is being done in the command line, we will show you the basic commands you'll need to know to work with Private npm from the CLI.
Private npm Setup
First we need to setup our npm client to use your Private npm registry, with the following commands your local npm client will be ready to work with Private npm.
After setting this options you'll need to login by running:
This will sync your Public npm user with our Private npm product.

Package Management
Next we will learn how to use npm for common package management.
Install Package
If you want to install a package from your private or public registry you'll want to run:

Also if you want to save the package dependency in your package.json file just append the --save option to the command.
Or if the package is a development dependency (like grunt, karma, etc.) you'll want to append --save-dev instead.
Publish Package
Publish a package is so easy with npm, just run the following command to publish a package to your private registry (make sure you followed the setup steps properly).
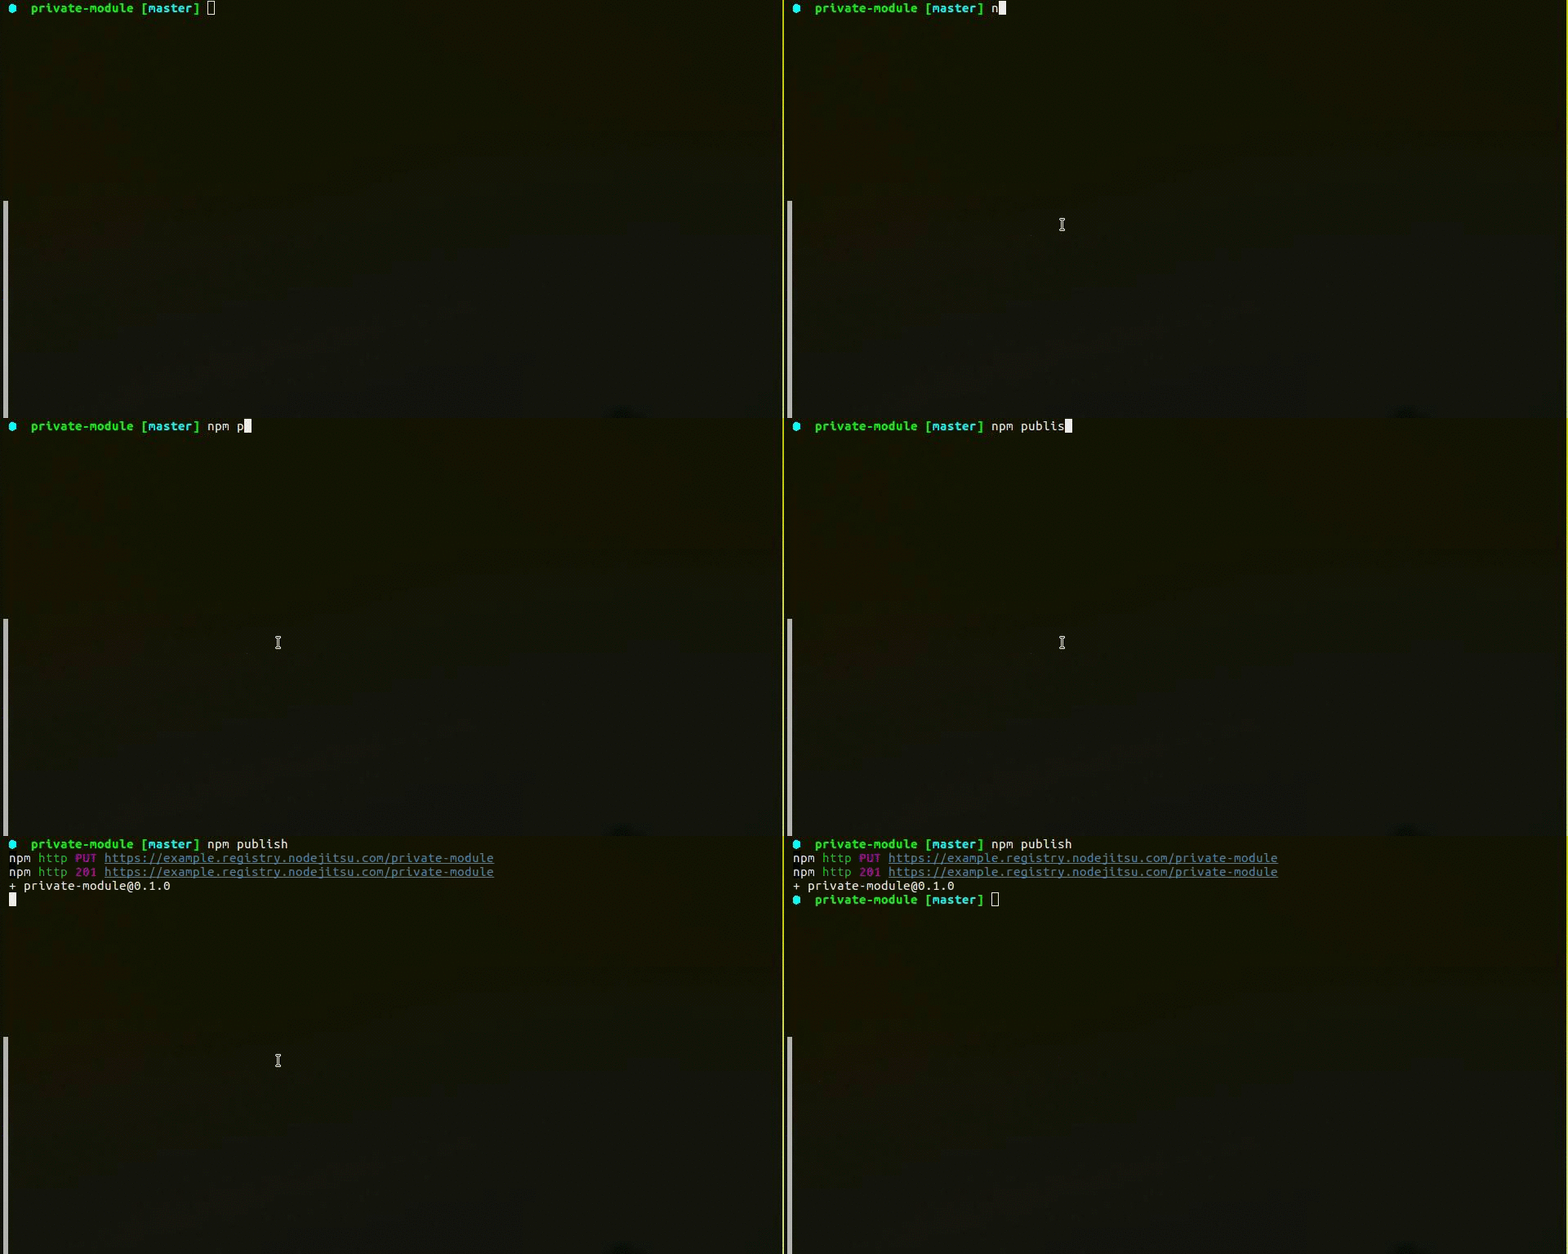
But if you want to publish the package to the public registry you can use the --reg option to define the npm registry to use.
Unpublish Package
If you want to unpublish a package you'll want to run:
Take into account that if you want to publish the package again you'll need to use a different version name in your package.json to avoid conflicts.
Maintainers Management
Work in a team is awesome right? With npm, team management is easy too!
List Maintainers
If you want to know the maintaners of a package run:

Add Maintainer
If you want to add a maintainer you'll need to run:

Remove Maintainer
And if you want to remove a maintainer, run:
Protip: After adding or removing a maintainer don't forget to Sync it on the Web Interface using Sync Maintainers button.