generator-element / 1.1.0 last updated a year ago created on Feb 21st 2014
Install
npm install --save generator-element
Clone
git clone git@github.com:webcomponents/generator-element.git
| main |
|
chalk | 1.1.3 | MIT |
|
|
pkg-name | 1.0.2 | MIT | |
|
|
yeoman-generator | 0.19.2 | BSD 2-Clause | |
|
|
yo | 1.7.0 | BSD 2-Clause | |
|
|
validate-element-name | 1.0.0 | MIT |
| 1.1.0 | a year ago | zenorocha |
| 1.0.0 | a year ago | zenorocha |
| 0.1.7 | 2 years ago | zenorocha |
| 0.1.5 | 2 years ago | zenorocha |
| 0.1.4 | 2 years ago | zenorocha |
| 0.1.3 | 2 years ago | zenorocha |
| 0.1.2 | 2 years ago | zenorocha |
| 0.0.0 | 2 years ago | addyosmani |
readme
Yeoman Generator
for Custom Elements





A Yeoman Generator that provides a functional boilerplate to easily create Custom Elements using Polymer, X-Tag or VanillaJS.
All templates are based in the boilerplates authored by the WebComponents.org team:
Install
Install this generator using NPM:
Getting Started
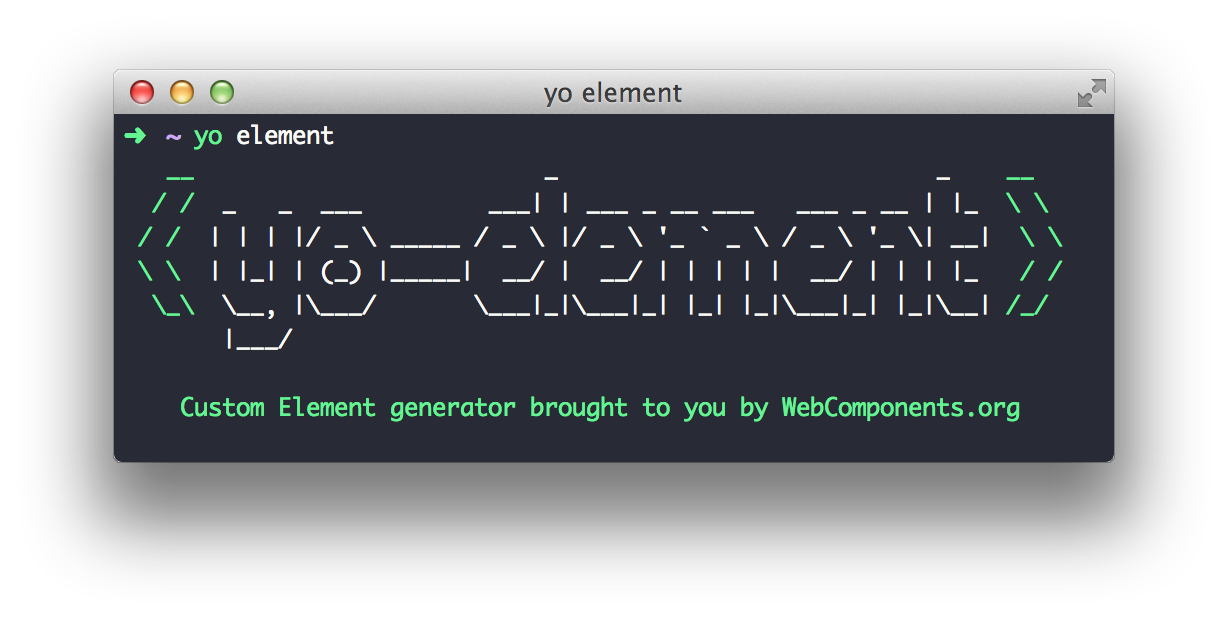
There are two different generators available.
The first one used to scaffold out new individual elements:
Which will generate the following file:
The second one is used to scaffold an entire project:
Which will generate the following project structure:
And run
bower install&npm installfor you to fetch all dependencies.
Note: files will be generated in the current directory, so be sure to change to a new directory before running those commands if you don't want to overwrite existing files.
Contributing
- Fork it!
- Create your feature branch:
git checkout -b my-new-feature - Commit your changes:
git commit -m 'Add some feature' - Push to the branch:
git push origin my-new-feature - Submit a pull request :D
History
For detailed changelog, see Releases.
Team
This project is maintained by these people and a bunch of awesome contributors.
 |
 |
|---|---|
| Zeno Rocha | Addy Osmani |
License
MIT License © WebComponents.org